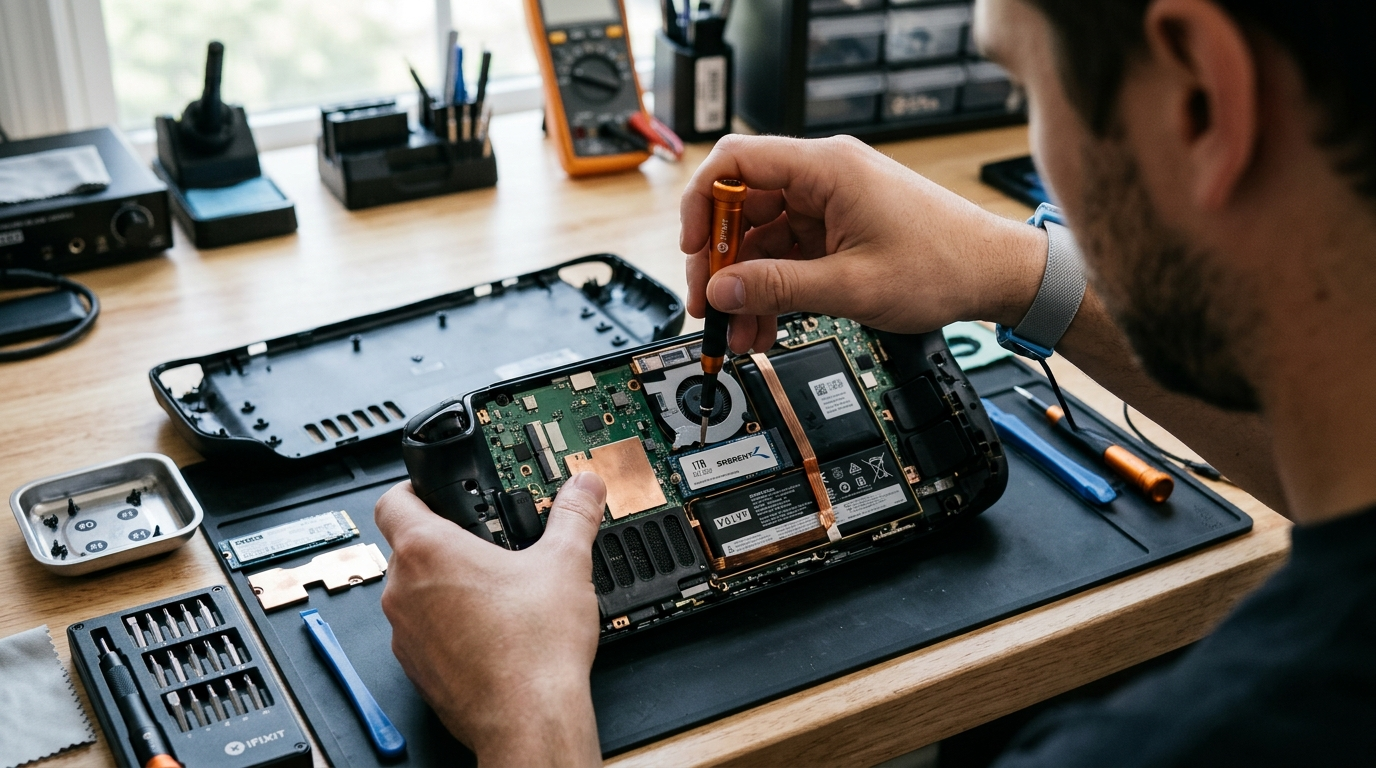
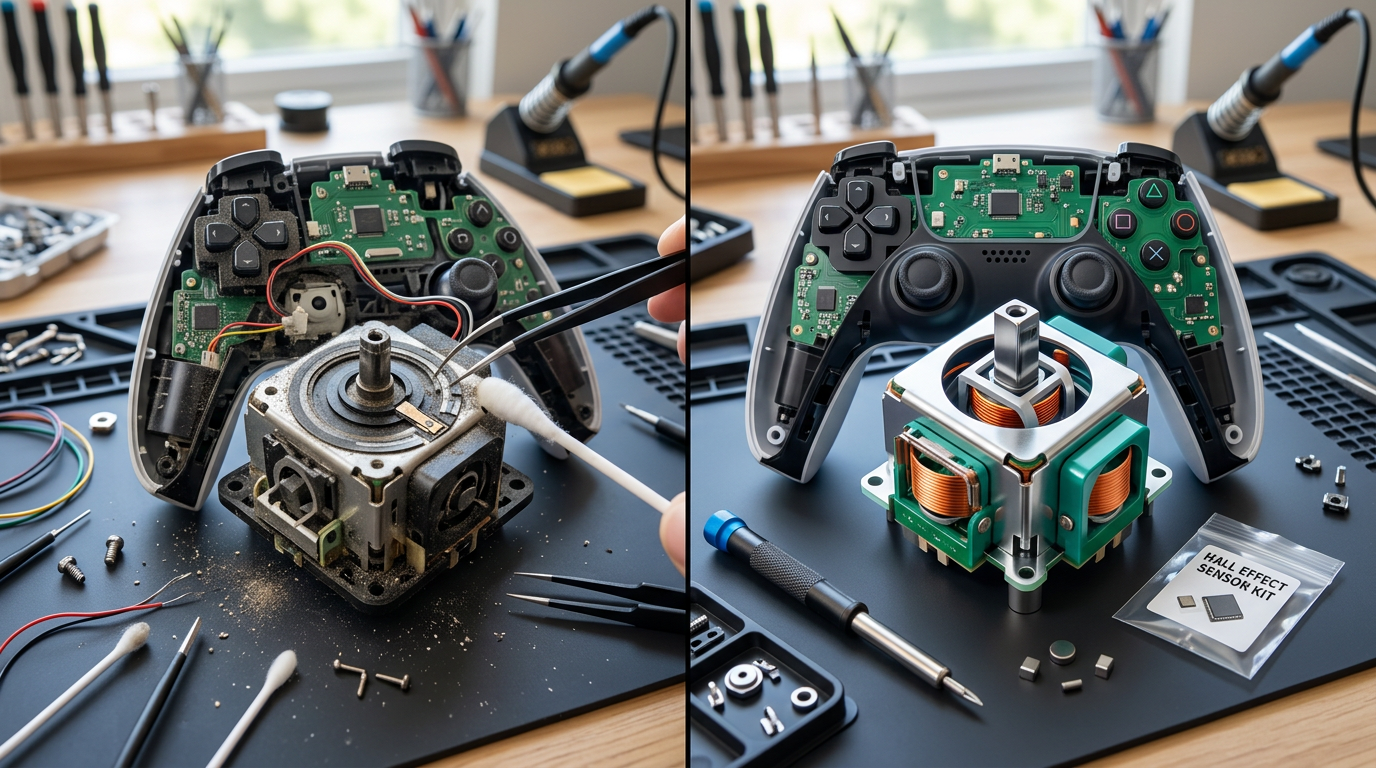
If your controller’s cursor wanders on its own, you’re weighing two paths: fix hall effect vs potentiometer stick drift. One replaces worn parts in a cheap analog stick; the other installs a magnetic sensor that never wears out. Both solve the same symptom, but they differ sharply in cost, effort, and longevity.
Quick answer: A potentiometer fix is cheapest and easiest, but the drift usually returns as the carbon tracks wear again. A hall effect swap costs more and needs soldering plus calibration, yet it removes the physical wear that causes drift in the first place. Most players should replace the potentiometer module first if the controller is budget-friendly, and go hall effect if they plan to keep the controller for years.
This guide compares both approaches across cost, difficulty, durability, and feel. You’ll finish knowing which repair fits your controller, your tools, and your budget.
Side-by-side comparison
Here’s the short version before the detail. Both fixes tackle worn analog stick assemblies, but they attack the problem from opposite directions. The table below compares them on the factors that actually drive the decision: price, effort, lifespan, and required skills.
Comparison: Potentiometer fix vs hall effect swap
| Dimension | Potentiometer Fix | Hall Effect Swap |
|---|---|---|
| Typical part cost | Low (a few dollars) | Moderate (roughly double or more) |
| Tools needed | Screwdriver, contact cleaner | Soldering iron, flux, calibration software |
| Skill level | Beginner | Intermediate to advanced |
| Lifespan after fix | Months to a couple of years | Years, with no wear-based drift |
| Root cause addressed | Symptom, mostly | The mechanism itself |
| Risk of failure | Low | Higher (solder damage, calibration) |
The pattern is clear. The potentiometer route is fast and forgiving; the hall effect route is slower and demands more from you. Notice that price and skill move together. The cheaper part asks less of your hands, while the pricier part rewards steady soldering.
Cost figures vary widely by controller model and region, so treat the estimates as relative, not fixed. A first-party controller swap costs more than a budget third-party one either way.
The table’s verdict shifts once labor enters the picture. If you pay a shop for the work, a hall effect install often costs two to three times what a module swap does, because bench time for desoldering and calibration outweighs the part difference. DIY players narrow that gap, since the soldering iron they buy once serves future repairs.
Availability also separates the two. Potentiometer modules for popular first-party controllers are stocked by most parts sellers, while hall effect boards cluster around the most-repaired models and dry up for older or niche devices. Confirm stock before you commit to either path, or you may wait weeks on a part that decides the job for you.
Opening a controller usually voids its warranty. If your device is still covered, a manufacturer repair or replacement may beat both options.
Key differences explained
Three differences decide most cases: how each fix handles the root cause, the effort involved, and the result you can expect afterward.
How each fix treats the root cause
Standard analog sticks use potentiometers — carbon resistive tracks that a metal wiper sweeps as you move the stick. That physical contact wears the track down. Grit and dust speed up the damage. Drift appears when the resting voltage no longer matches the stick’s true center.
A hall effect sensor measures a magnetic field instead of wiping a surface. No contact means nothing to wear out. The magnet moves, the sensor reads the change, and the signal stays stable for years.
Effort and required skills
Cleaning or swapping a potentiometer module is mostly mechanical work. You open the shell, remove the stick assembly, and replace or clean the part. Many players finish in under an hour with a basic screwdriver set.
A hall effect install is a soldering job. You desolder the old analog stick, fit the new board, and check every joint. Then you calibrate the stick so the controller reports accurate center and range. A cold joint or a rushed calibration produces drift that looks like the original fault.
Durability of the result
The potentiometer fix restores the original design, so the same wear pattern returns eventually. Heavy players often notice drift again within a year. A hall effect stick should outlast the rest of the controller because the sensing element doesn’t degrade through use.
What changes in stick feel
Hall effect sticks can feel slightly different. Some players report a marginally lighter or smoother tension, and a few notice a small dead-zone change after calibration. Potentiometer replacements keep the factory feel exactly, which matters if you have muscle memory built around one controller.
Key similarities
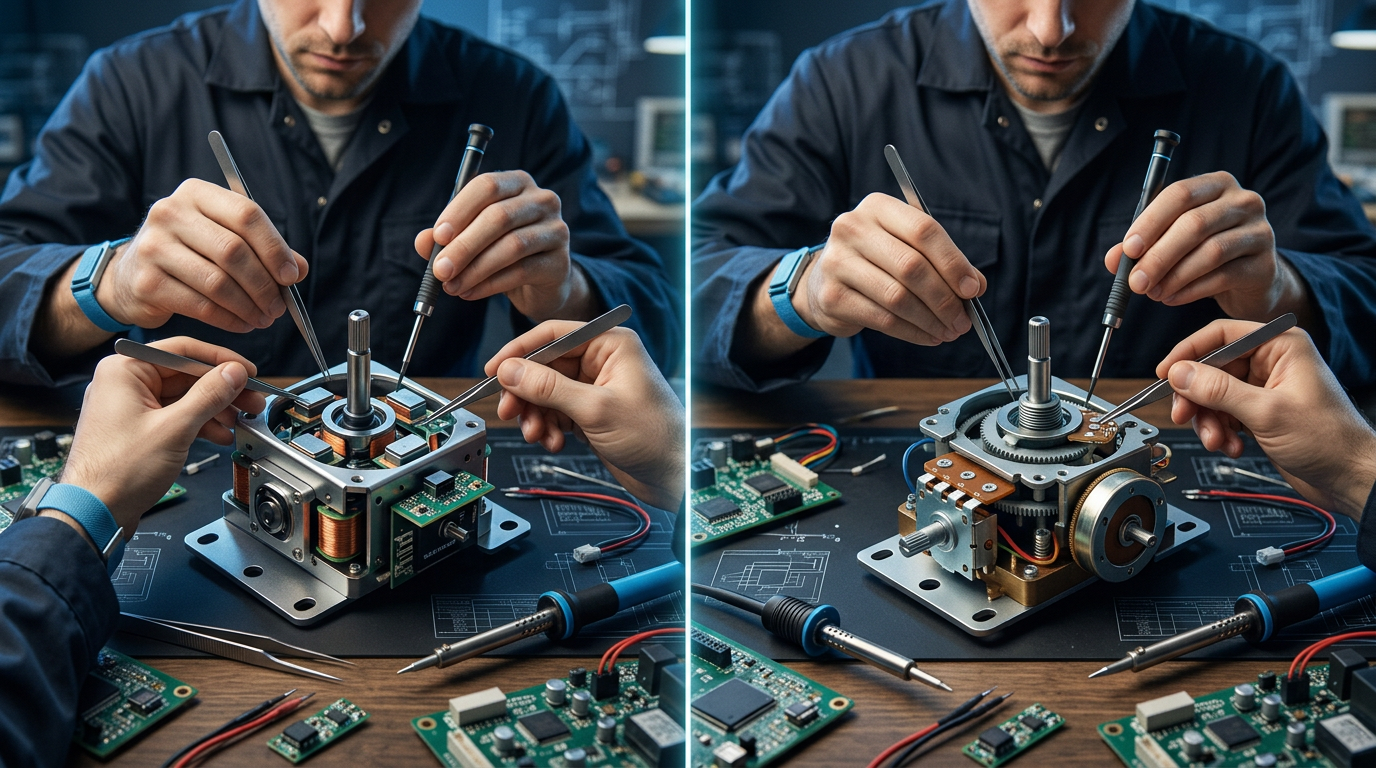
The two fixes share more than you might expect. Start with the target: both address the analog stick assembly, not the motherboard or the trigger circuits. That means the diagnosis step is identical for each.
- Same symptom, same first test. Both start by confirming drift in a calibration or input test tool before you buy parts.
- Same access path. You open the controller shell, remove the battery or cable, and reach the same stick module either way.
- Both need calibration. A fresh potentiometer can sit slightly off-center, and a hall effect board needs its output mapped. Skipping calibration causes false drift.
- Both fail without clean work. Dust, bent pins, or a loose ribbon cable will bring back the fault regardless of sensor type.
- Both are reversible. You can return to stock parts if a swap goes wrong, provided you keep the original module.
These overlaps mean the preparation is the same. You’ll still need the right screwdriver, a clean workspace, and a way to test input afterward. The divergence happens at the part itself, not the surrounding process.
Both fixes also share a failure mode after reassembly: a pinched or half-seated ribbon cable to the stick board. Test every direction and press before driving the last screws home, because a cable that looks fine can still report phantom input. Neither repair survives a rushed close-up, and the diagnostic step you ran at the start is the same one that catches this.
Pros and cons of each option
Neither path is strictly better. The honest trade-offs come down to time, money, and how long you want the fix to last.
Factor in resale and sentiment as well. A hall effect install on a rare controller can preserve or even lift its value, while the same swap on a mass-produced pad adds little. A potentiometer fix keeps everything stock, which matters if you might sell it later.
Potentiometer fix
Pros
- Lowest parts cost, often just a few dollars for a replacement module.
- Beginner-friendly; many swaps need only a screwdriver and patience.
- Keeps the controller’s original stick feel and tension.
- Fast — often under an hour from opening to reassembly.
- Contact cleaner alone can buy extra months before any replacement.
Cons
- Drift commonly returns as the carbon track wears again.
- Cleaning fixes the symptom, not the worn surface underneath.
- Repeated openings stress plastic clips and screw threads over time.
- On some controllers, replacement modules are hard to source.
Hall effect swap
Pros
- Eliminates contact wear, the main cause of drift.
- Long service life; the sensor doesn’t degrade with use.
- Often improves precision and reduces dead-zone creep.
- One install can outlast several potentiometer replacements.
Cons
- Higher part cost, sometimes several times a standard module.
- Requires soldering skill and the right tools.
- Calibration is mandatory and can be fiddly on some models.
- A botched solder joint can damage the board beyond repair.
- Stick feel may shift slightly, which upsets some players.
If you’ve never soldered, practice desoldering on a scrap board before touching a working controller. Lifted pads are difficult and costly to fix.
Which should you choose?
Match the repair to your situation, not to what’s trendiest online. Here’s how the decision breaks down by reader type.
Weigh one more factor before deciding: how many controllers you own. A single daily driver justifies the hall effect investment, while a drawer of spares makes cheap module swaps the practical rotation. Repairing the one you actually use beats upgrading the ones that sit idle.
Budget and casual players
Go with the potentiometer fix. If your controller is inexpensive, out of warranty, and you play a few hours a week, a module swap or a careful cleaning gives you months of usable play at minimal cost. You can repeat the process later without much loss.
Competitive and long-session players
Choose the hall effect swap. Heavy use accelerates potentiometer wear, so the cheap fix becomes a recurring chore. Paying once for a soldered hall effect install removes that cycle and keeps your aim consistent during long sessions.
Players with a prized or limited controller
Hall effect makes more sense. If the controller is a favorite limited edition or a premium model you plan to keep, protecting it with a wear-free sensor is worth the extra effort. Just have a shop do the soldering if you’re unsure of your hands.
First-time DIY repairers
Start with the potentiometer route. It teaches you how the controller comes apart and how calibration works, with low financial risk. Move to hall effect once you’re comfortable with tools and want a permanent fix.
The potentiometer fix wins on cost and simplicity; the hall effect swap wins on longevity. Pick based on how often you play and how long you intend to keep the controller.
FAQ
How much does each fix cost?
Parts for a potentiometer module typically run a few dollars, while hall effect boards cost noticeably more. Add the price of tools if you don’t own a soldering iron. A repair shop charges labor on top of either option.
Can I fix stick drift without opening the controller?
Sometimes. Contact cleaner sprayed into the stick housing can clear dust and restore center for a while. It’s a temporary measure, not a repair, and the drift usually returns once the track wears further.
Will a hall effect stick ever drift again?
It can, but not from the same cause. Magnetic sensing has no contact surface to wear down. Remaining drift sources are calibration errors, loose magnets, or board faults — not the gradual wear that plagues potentiometers.
Is the hall effect swap worth it on a cheap controller?
Usually not. The parts and effort can approach the controller’s replacement cost. Save the swap for a controller you value, and use a standard module fix on budget devices.
How long does each repair take?
A potentiometer replacement often takes under an hour for a beginner. A hall effect swap runs longer because of desoldering, fitting, and calibration, and a first attempt may take a full afternoon.
Conclusion
The fix hall effect vs potentiometer stick drift decision comes down to what you value. The potentiometer route is cheap, quick, and beginner-friendly, but it restores a design that wears out again. The hall effect swap costs more and demands soldering skill, yet it removes the wear mechanism entirely and can outlast the controller.
Start by confirming the drift with an input test and checking your warranty. If the controller is budget-friendly or you’re new to repairs, replace the module and keep playing. If you rely on the controller daily or plan to keep it for years, invest in the hall effect install — or pay a shop to do it. Whichever you pick, calibrate afterward and test the result before you close the shell.