
You are ten minutes into a client call, and someone types “we can’t hear you” while you are halfway through your explanation. Troubleshooting common video conferencing audio problems usually starts in that moment, and the first minute of confusion costs more than most people expect. The cause is often simple: a muted microphone, the wrong input device, or a headset that the app no longer recognizes. Below is a practical path from diagnosis to prevention, so the next call works on the first try. A general reference for this kind of diagnosis is available at https://bereviewers.com/.
Quick answer: Check the microphone selection and mute state in the app first, then test before the meeting starts. If others hear an echo, isolate a single speaker or headset rather than adding more devices. Most audio failures fall into three buckets: input, output, and connection, and testing each one in that order resolves the majority of them in under five minutes.
What is troubleshooting common video conferencing audio problems?
Troubleshooting common video conferencing audio problems means finding out where the sound breaks in the chain between a speaker’s mouth and a listener’s ear. That chain has three links: the microphone that captures your voice, the software that processes and transmits it, and the speaker or headset that plays it back. Each link has its own failure modes, and the symptoms tell you which link to examine.
A useful way to organize the diagnosis is by symptom rather than by device.
- Others cannot hear you: the problem sits on your input side, such as a muted mic, the wrong microphone selected, or a mic that is physically disconnected.
- You cannot hear others: the problem sits on your output side, such as a muted speaker, a selected headset that is turned off, or a volume setting at zero.
- Everyone hears an echo or feedback: two devices in the same room are picking up and replaying sound, or one room has speakers and a live microphone.
- The audio stutters or drops out: the network is struggling, or the device is overloaded.
- Sound cuts in and out randomly: often a Bluetooth headset switching between connections or reaching the end of its range.
The testing tools built into meeting apps make this faster than guesswork. Most platforms run a microphone test before you join, showing a live level meter as you speak. If that meter moves, your mic works and the problem lies elsewhere. If it stays flat while you talk, you have found the fault.
Matching what the room reports to an input, output, or connection problem saves the trial-and-error loop. Most people fix audio faster by asking “who is affected?” before touching settings.
Takeaway: classify the symptom before changing anything, because a clear diagnosis prevents wasted effort on the wrong device.
Why troubleshooting common video conferencing audio problems matters
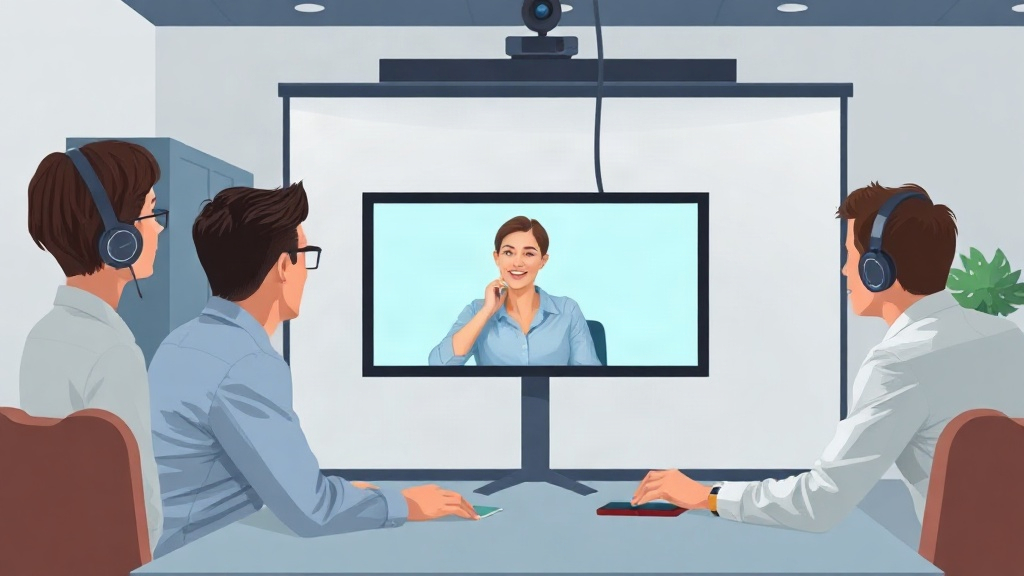
Bad audio damages meetings in ways that are easy to underestimate. Listeners spend more effort decoding unclear speech, so they retain less and drift. On a sales call, a client who cannot hear you clearly may simply stop asking questions. In a team standup, one person repeating every answer slows the other eight.
The cost compounds across a workday. Suppose you spend two minutes on audio issues in each of four meetings per day. That is eight minutes daily, or roughly forty minutes a week, spent on problems that usually have a simple fix. For someone running interviews or client reviews, the reputational cost matters more than the minutes. People judge competence partly by how smoothly your side of the call runs.
There is also a false-alarm factor. Many “broken audio” reports are just headphones plugged into the wrong jack or a webcam microphone capturing keyboard noise. Picking the wrong input can make you sound distant and hollow while your laptop’s built-in mic sits idle. Learning to spot these issues quickly means fewer interruptions and more professional calls.
For remote teams, audio quality affects fairness. If one participant’s audio is consistently poor, colleagues start talking over them or skipping their input. Good audio is a small courtesy with real consequences for who gets heard.
Takeaway: treat audio as part of your professional presentation, not a nuisance to fix mid-sentence.
Best practices
Prevention removes most of these problems before the meeting starts. Build a short pre-call routine and repeat it until it becomes automatic.
- Test your microphone and speakers before joining. Use the app’s test feature and confirm the level meter moves when you speak and that playback reaches your ears.
- Choose one audio device and stick to it. Select your headset for both input and output so the app never guesses.
- Use a headset for calls with more than three people. It prevents echo and keeps your hands free for notes.
- Close bandwidth-heavy programs during calls. Large downloads and streaming video compete with the audio stream.
- Sit within range of your router or use a wired connection. Wi-Fi works, but stability matters more than raw speed.
When you are troubleshooting an echo, the fastest fix is usually to have only one active speaker in a room. If several people gather around one laptop, ask them to share a single external speakerphone rather than each using their own mic. Guidance on echo symptoms and fixes is available through Zoom echo troubleshooting, which covers common causes worth checking.
Keep firmware and app updates current. Device drivers and meeting apps receive fixes that resolve known audio bugs, and an outdated Bluetooth stack is a frequent culprit for dropouts. Check your headset’s connection settings too; many headsets try to connect to a phone and a laptop at once, and that handoff can silence your call audio.
Rename inputs like “USB headset” or “laptop mic” in your operating system settings. It makes selecting the right device far faster under pressure.
Takeaway: a two-minute pre-call check prevents most audio surprises and keeps small issues from becoming meeting interruptions.
Common mistakes to avoid
Many audio problems persist because of the same handful of habits. Avoiding them saves time and frustration.
- Relying on the laptop speakers and mic at once. The mic picks up the speakers and sends the sound back, creating an echo. Use a headset instead.
- Muting the wrong device. People mute the headset while the app routes audio to the monitor’s speakers, then wonder why nothing changes.
- Ignoring the join-screen device selection. The pre-call screen defaults to whatever device was last used, which may not be present today.
- Assuming the network is fine. A weak signal causes stutter that sounds like a hardware fault.
- Not testing in the actual meeting app. A headset can work in a browser video but fail in a dedicated client due to permissions.
- Changing several settings at once. Adjust one setting, test, then move to the next so you know what fixed it.
A related mistake is ignoring the “sound check” feedback from others. If a colleague says you sound far away, check whether the app is using your laptop’s built-in mic instead of the headset. The visual level meter often reveals this immediately.
Turning your microphone gain to maximum to sound louder usually adds distortion and background noise. Raise the level modestly and move closer to the mic instead.
Takeaway: most recurring audio issues trace back to device confusion and echo from speakers, and both are simple to prevent.
FAQ
Why can’t anyone hear me on video calls even though my mic is unmuted?
The most common cause is that the app selected a different input device than the one you are speaking into. Check the device list in the meeting settings and look for a moving level meter. If the meter stays flat, try another microphone or reconnect your headset.
How do I stop the echo everyone complains about during calls?
Have each participant use a headset, and never combine open speakers with a live microphone in the same room. If several people share a room, use one external speakerphone. Echo usually disappears once only one device captures and plays sound.
Is a flaky audio connection a network problem or a hardware problem?
It can be either, so test in order. Try a wired connection or move closer to the router first. If stutter continues, switch to a different headset. If both fail, check whether the device is overloaded with other apps running.
Do I need to buy a separate microphone for better call audio?
Often no. A basic wired headset improves clarity more than most upgrades. Buy a dedicated microphone only if you record content regularly or use a noisy shared workspace, where a directional mic helps isolate your voice.
Conclusion
Most audio failures come down to a handful of causes: the wrong input device, an unnecessary mute, echo from open speakers, or an unstable connection. Classifying the symptom before changing settings turns a frustrating scramble into a quick fix. Build a short pre-call habit, favor a headset over laptop speakers, and test with the app’s level meter whenever something sounds off. The practical next step is to run a test call now and confirm your default microphone and speaker before your next meeting.