Are you a gaming enthusiast who loves to revisit classic games from the Nintendo 64 era? If you’ve been using Project64, a popular Nintendo 64 emulator, you might be wondering how to change plugins to enhance your gaming experience. Fear not! In this guide, we’ll walk you through the process of changing plugins in Project64. Whether you’re a seasoned emulator user or a newbie, we’ve got you covered. This article is presented by Bitsofdays.com.
Introduction to Project64 and Plugins
Before we dive into the process of changing plugins, let’s understand what Project64 is and why plugins matter. Project64 is an emulator that allows you to play Nintendo 64 games on your computer. Plugins are like add-ons that enhance the emulator’s functionality, improving graphics, sound, and other aspects of the gaming experience.
Why Change Plugins?
The default plugins in Project64 work well, but sometimes you might want to enhance graphics, improve audio quality, or customize certain features. Changing plugins can help you achieve these goals and even unlock additional features in your games. If you’re wondering where to install project64, it’s recommended to choose a location on your computer that is easily accessible and has enough space to store all of the necessary files.
Step-by-Step Guide to Changing Plugins in Project64
1. Download the Desired Plugin
The first step is to find and download the plugin you want to use. There are various plugins available online, each with its own unique features. Make sure to choose a reputable source to avoid malware or compatibility issues.
2. Locate the Project64 Installation Folder
Once you have the plugin file, navigate to the Project64 installation folder on your computer. This is usually where the emulator is installed, and it contains subfolders like “Plugins” and “Config.”
3. Backup Your Existing Plugins
Before making any changes, it’s a good idea to create a backup of your current plugins. Copy the existing plugins to a separate folder. This way, you can easily revert to the original configuration if needed.
4. Install the New Plugin
Now, copy the downloaded plugin file into the “Plugins” folder within the Project64 installation directory. This is where all the emulator’s plugins are stored.
5. Launch Project64 and Access Plugin Settings
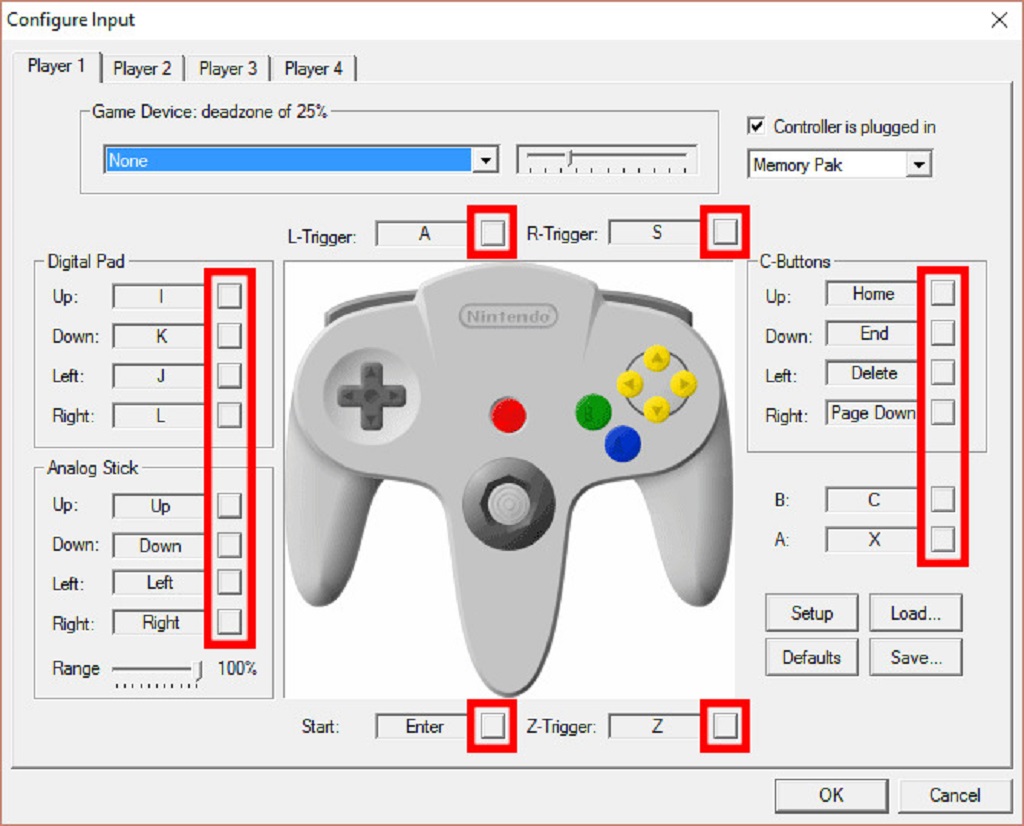
Open Project64. Navigate to the “Options” menu and select “Settings.” In the settings window, go to the “Plugins” tab.
6. Select the New Plugin
In the “Plugins” tab, you’ll see a list of different categories such as graphics, audio, and input. Locate the category related to the plugin you’ve installed. From the dropdown menu, select the new plugin you want to use.
7. Configure the Plugin
Depending on the plugin, you might have additional configuration options. Adjust the settings according to your preferences. These settings can greatly impact your gaming experience.
8. Apply and Save Changes
After configuring the plugin, click the “Apply” button to save your changes. If prompted, restart Project64 for the changes to take effect.
Conclusion
Congratulations on successfully changing plugins in Project64! By following this comprehensive step-by-step guide, you’ve unlocked the potential to enhance your gaming experience. With these changes, you can now enjoy classic Nintendo 64 games while benefiting from improved graphics and enhanced sound quality. And hey, speaking of enhancing your gaming world, have you ever wondered how to make a compass in Minecraft? It’s a useful tool for navigation and exploration in the game, and incorporating it naturally into your gameplay can open up a whole new dimension of adventure. Keep up the gaming momentum and continue exploring the virtual realms!
FAQs
Q1: Is it safe to download plugins from the internet?
Downloading plugins from reputable sources is generally safe. However, be cautious and avoid downloading from untrusted websites to prevent potential security risks.
Q2: Can I revert to the default plugins if I’m not satisfied with the changes?
Absolutely! You can easily revert to the default plugins by replacing the new plugin files with the backup copies you created.
Q3: Will changing plugins affect the performance of my computer?
Using resource-intensive plugins might have a minor impact on performance, but it’s usually not significant. Make sure to choose plugins that are compatible with your system.
Q4: Are there plugins that enhance gameplay beyond graphics and audio?
Yes, some plugins can add cheat code support, multiplayer functionality, and other features to enhance gameplay.
Q5: Can I use multiple plugins at the same time?
Yes, you can use different plugins for various categories, such as graphics and audio. Experiment with different combinations to find the setup that suits you best.


