A water-damaged phone is one of the worst things that can happen to your phone. You may have dropped it in the toilet or a puddle, or maybe you spilled something on it. No matter what happened, taking steps to fix your phone before calling a repairman is always best. In this guide, we’ll show you how to take apart and dry out your smartphone if it gets wet! The content is brought to you by https://technochatnews.com/
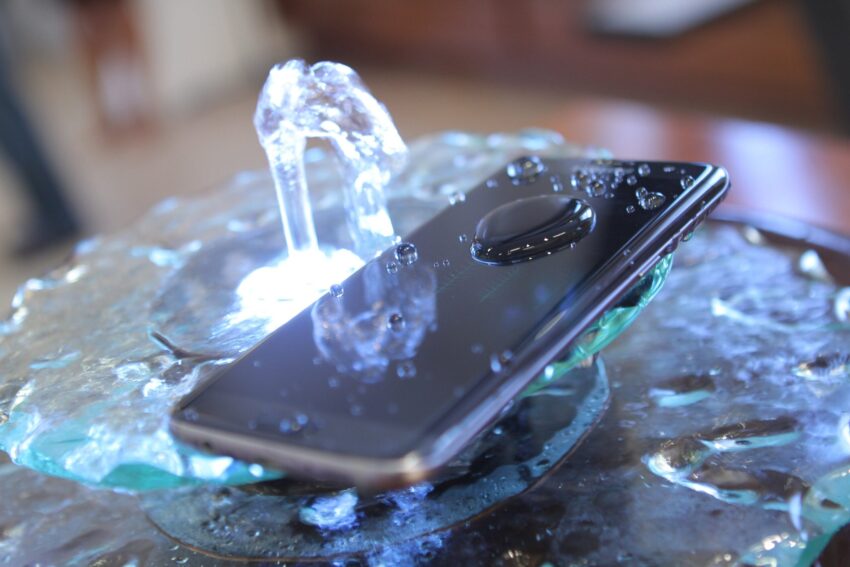
Remove the phone from the water
Remove the phone from the water as soon as possible. If you do not have a dry bag or case, wrap the phone in a towel and put it in an airtight container (like a Tupperware or Ziploc bag). Do not use a hairdryer to dry your phone; this can damage sensitive electronics.
If possible, place your phone on an absorbent material like paper towels or napkins and let it sit overnight before attempting to turn it back on again. Discover: Cheap Laptop Computers: The Untold Story
Take the battery out
The first step to fixing your phone is removing its battery. To do this, you’ll need a pry tool and some patience:
- Use the pry tool to remove the back panel from your smartphone (if applicable).
- Remove any screws holding down the battery. If there aren’t any visible screws, try looking for them with a flashlight or magnifying glass. If that still doesn’t work, feel free to use brute force–but don’t break anything!
- Once both sides of your device are opened up, lift up on one side of your phone’s battery until it pops out. Be careful not to bend or puncture anything inside your device as this could cause permanent damage!
Dry the phone with a towel
The first step to drying your phone is to make sure it’s off. If you don’t, water can get inside the device and cause more damage.
Next, wipe it with a paper towel or use a hair dryer on low heat to try to get rid of as much moisture as possible before turning it on again.
Finally, let your smartphone sit for 24 hours in an area where there is good ventilation (not in direct sunlight) so that all remaining moisture can evaporate from within its internal components
Remove any dust from the phone using a soft brush
Once you’ve removed any dust from the phone using a soft brush, it’s time to go over all of its ports and connectors with a toothpick or something similar. The goal here is to make sure that there are no pieces of debris hiding in them. If there are, you’ll want to remove them before proceeding with the next step.
Put your phone in a bowl of rice for 48 hours to draw out moisture
If your phone is still wet, put it in a bowl of rice for 48 hours. The rice will draw out any remaining moisture.
Once you’ve done this, check to see if there’s still moisture in the device. If so, repeat step 5 until there is no more visible water inside the phone or its battery compartment (if it has one).
Check internal hardware for damage
Once you’ve taken apart your phone and dried it off, it’s time to check for damage. First, look at the ports and make sure they’re not bent or broken. If they are, you’ll need to replace them with new ones (which can be bought online). Next, check the motherboard–if there are any cracks or dents in this part of your device, there will be no way to fix it without replacing the entire thing! Finally, check each component: battery, speakers, and microphone are all commonly damaged during water damage incidents so make sure everything looks okay before putting everything back together again.
Conclusion
The most important thing to remember is not to panic if your phone gets wet. If you follow these simple steps, there’s a good chance that it will be fixed in no time!